I spent 20 hours automating my 3D printer to save 2 minutes of work
Jul 26, 2026
I bought my Kingroon KP3s a few years ago and it was a huge upgrade from my ancient Anet A8. It was quieter, faster and printed a lot better.
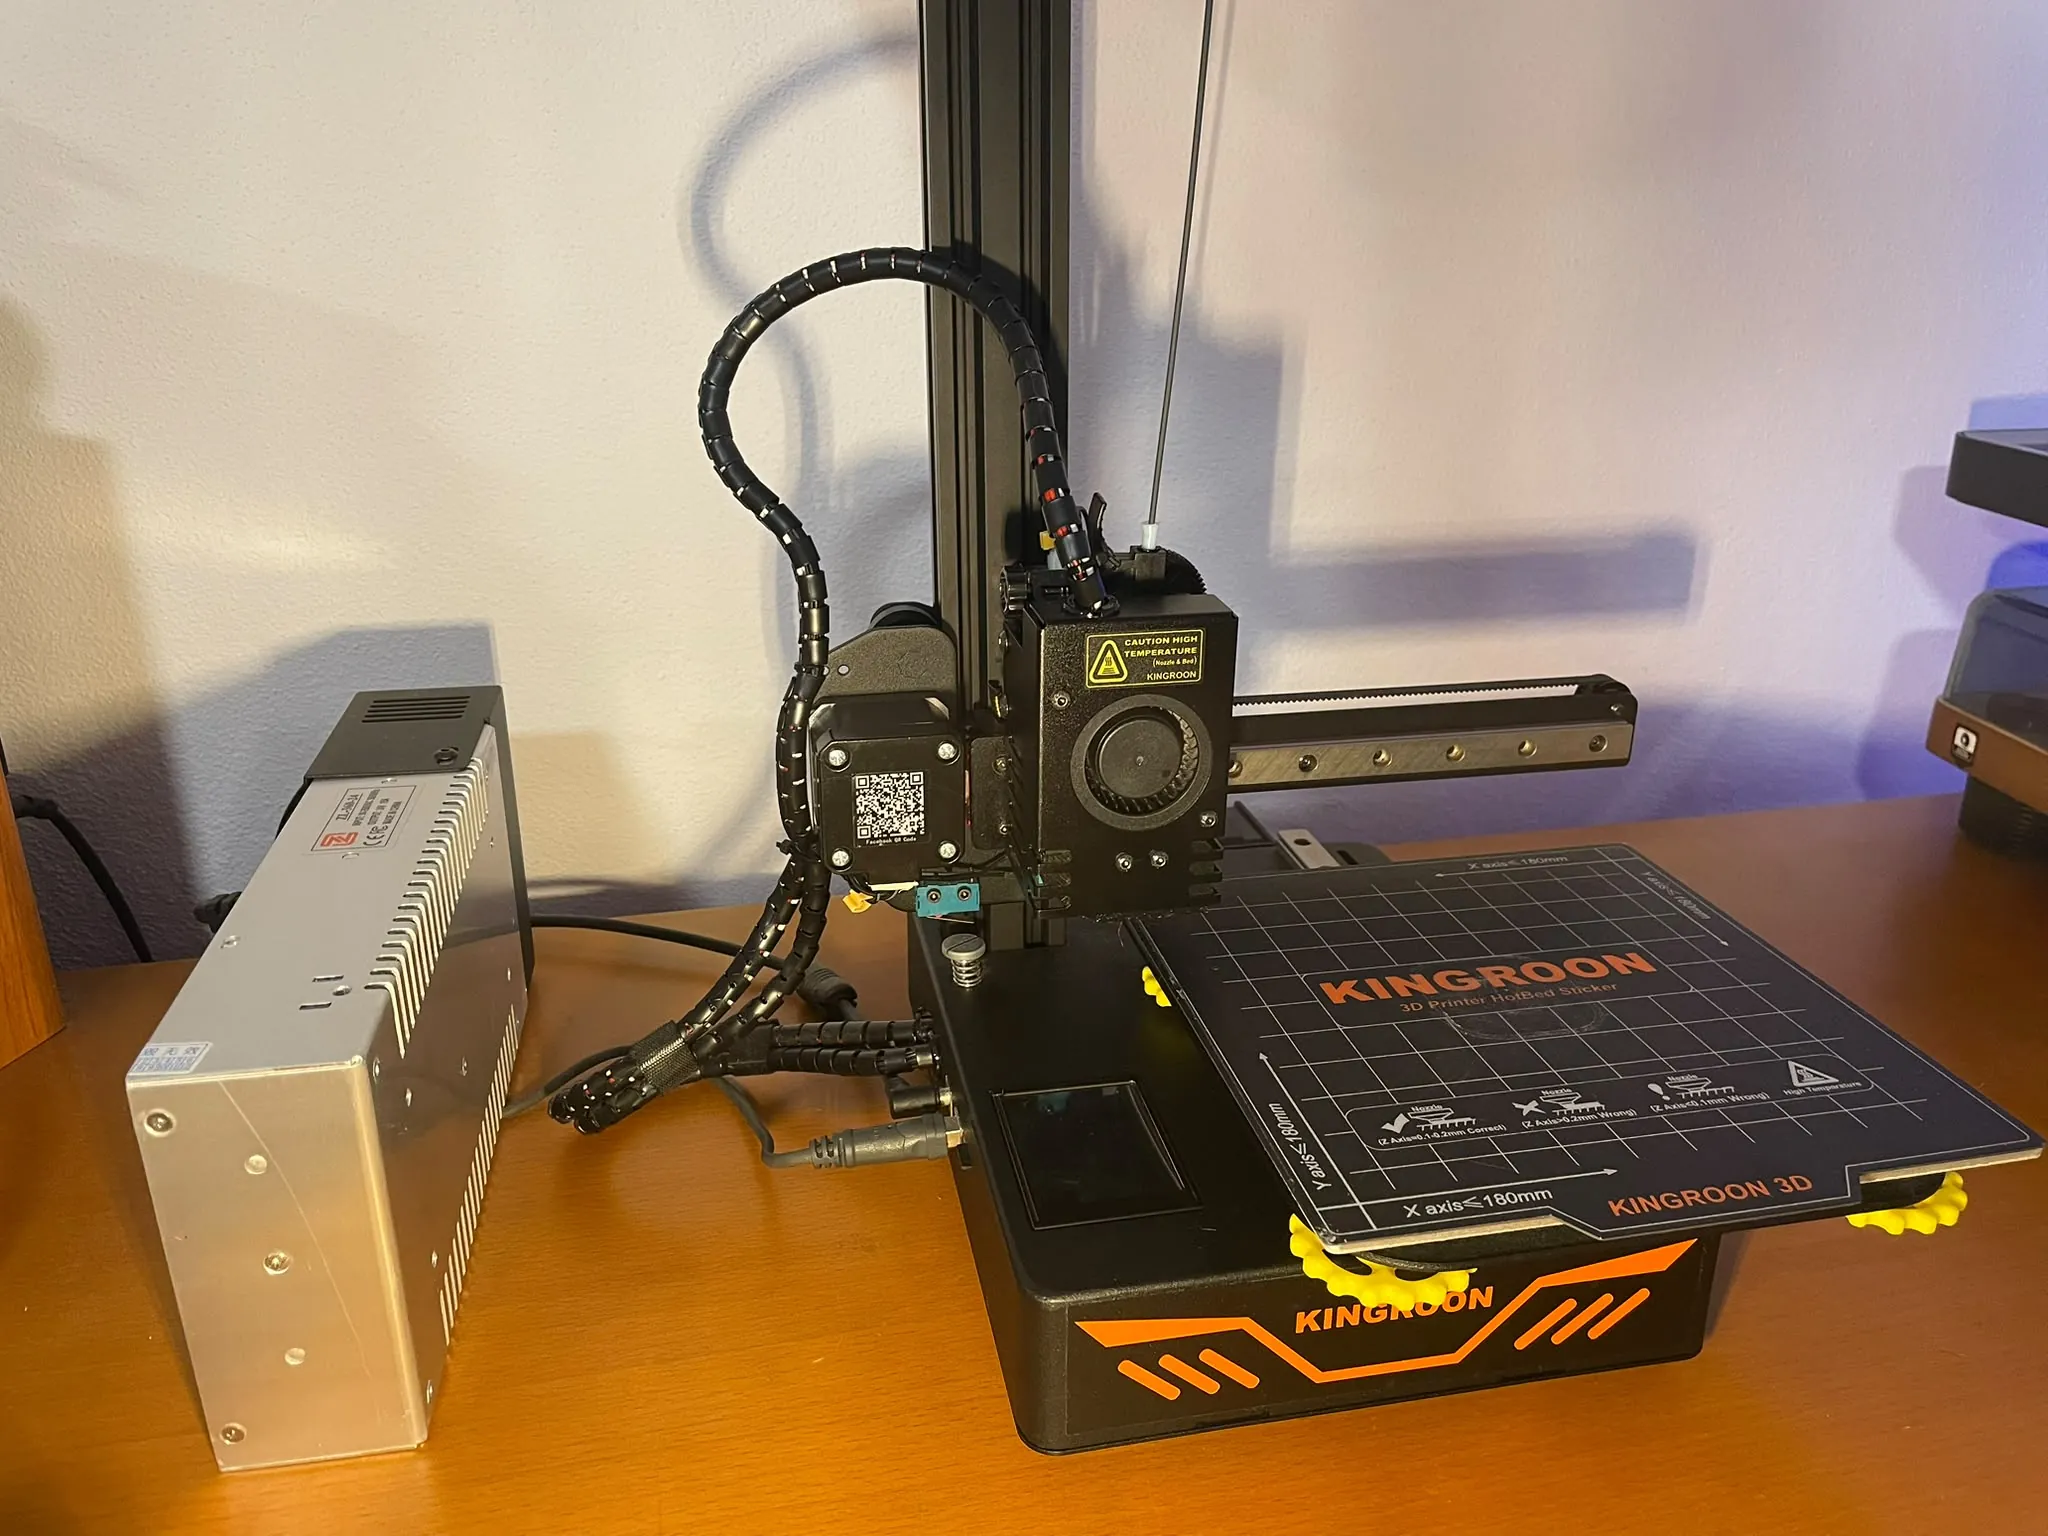
However, as the years passed I started to get a little frustrated with some of this printer's shortcomings. For example, its default firmware is practically useless. It was slow and confusing to navigate on the printer's super small 4x5 cm display and it lacked a few advanced features and configurations I wanted.
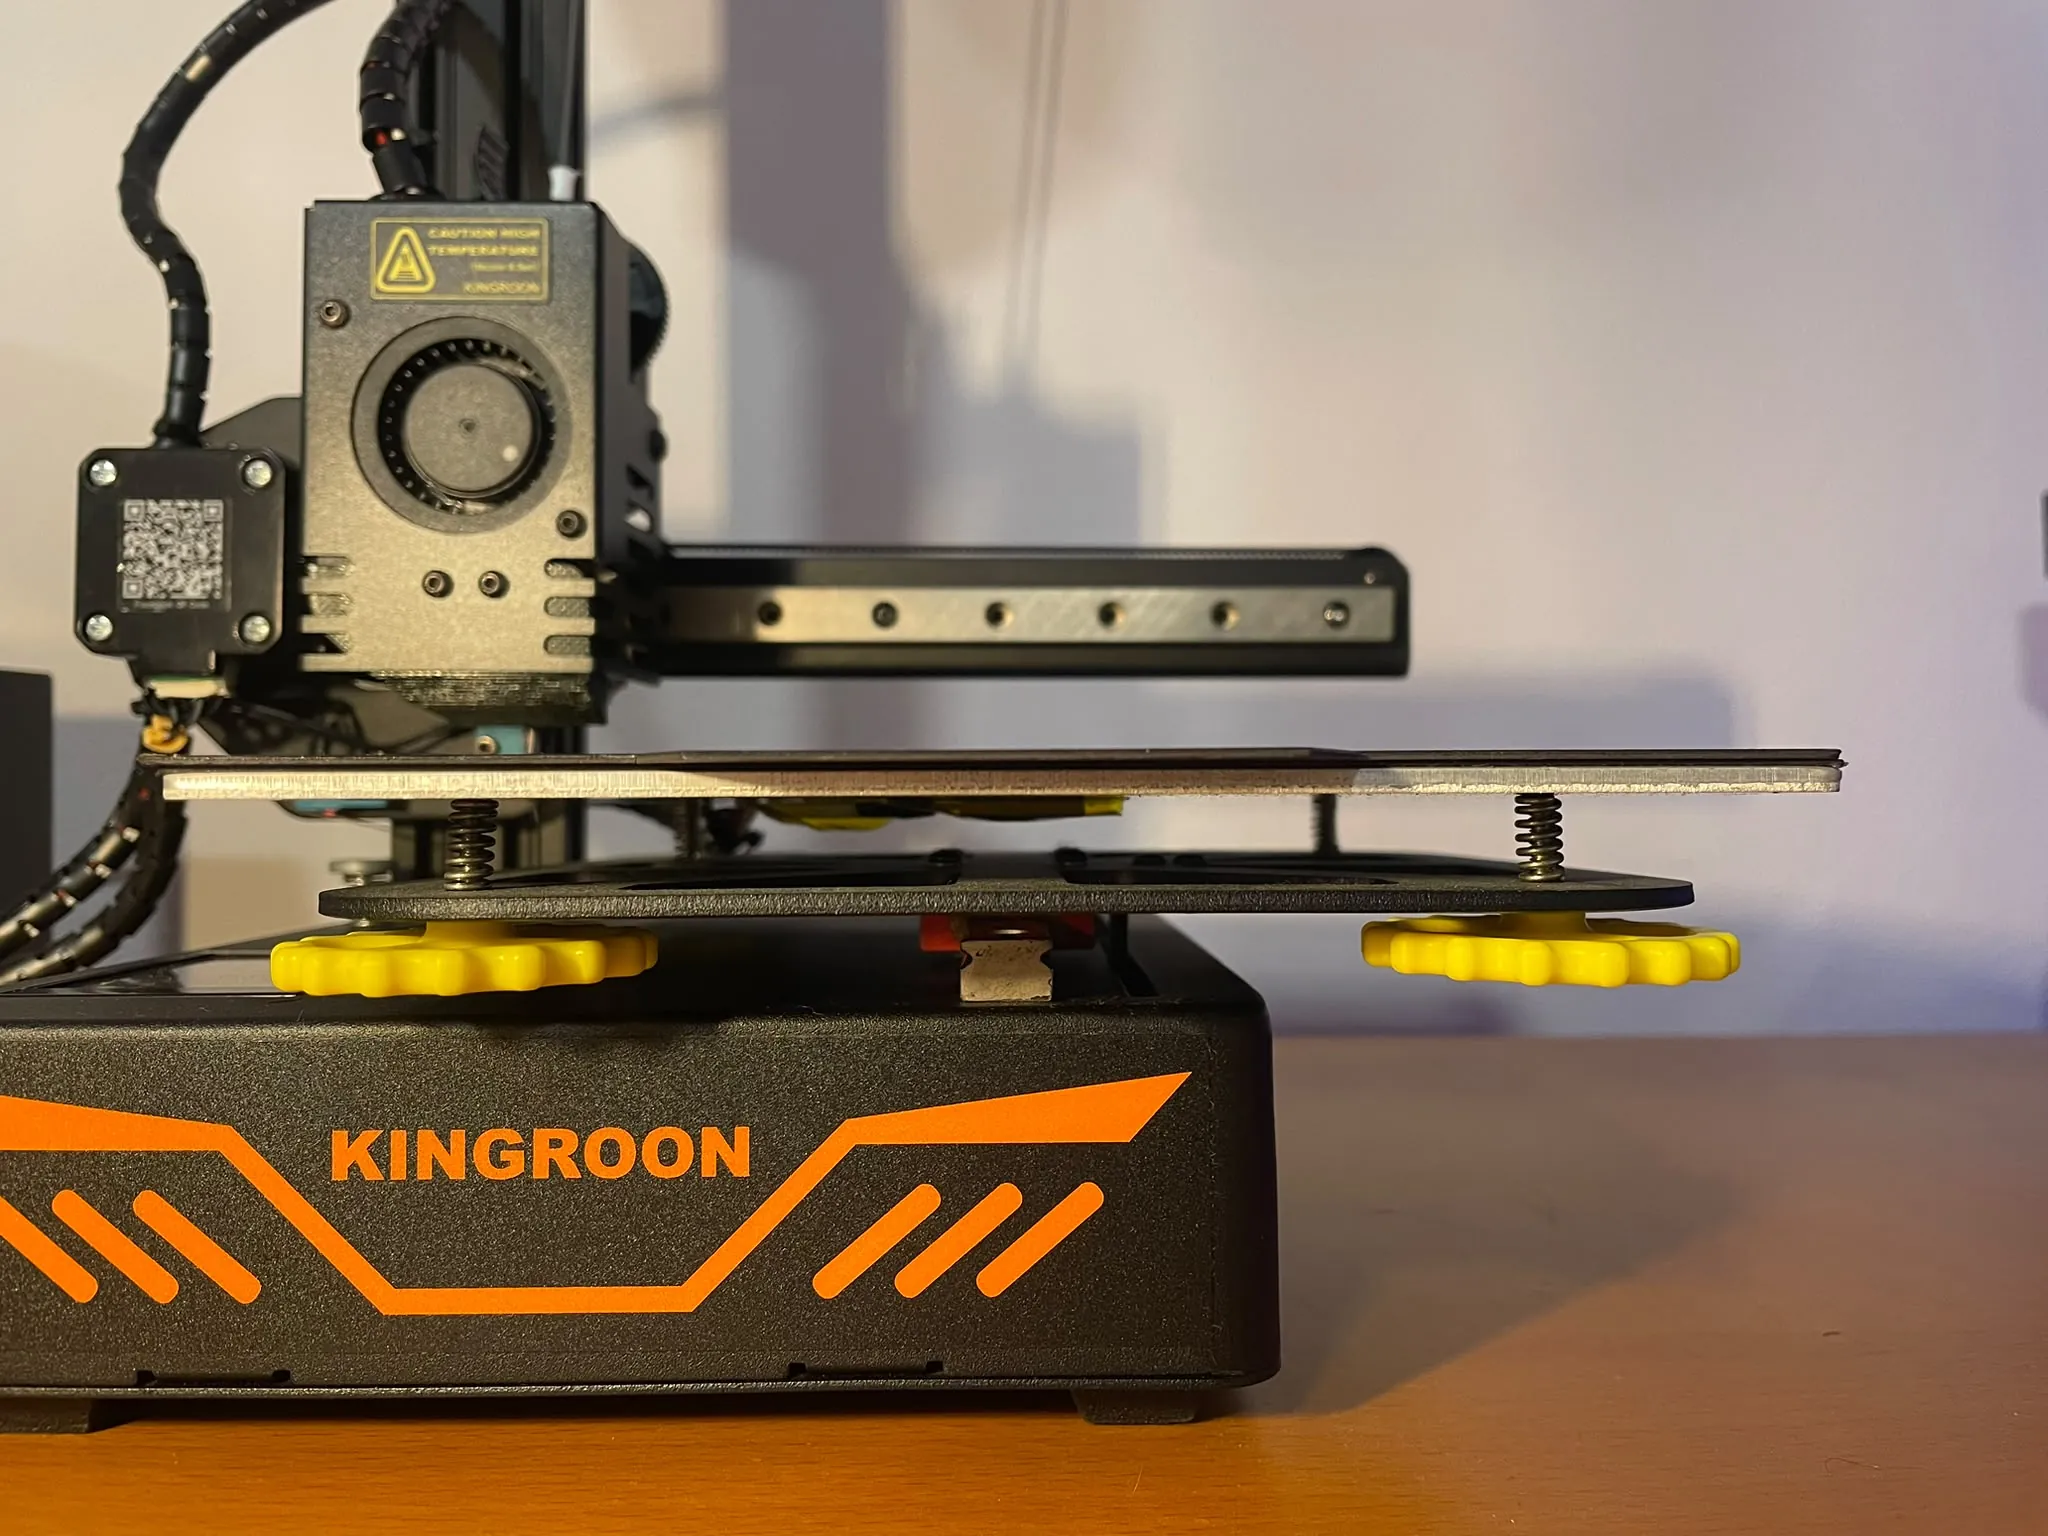
Another big issue was the bed leveling. The KP3s's 4-corner bed leveling system relies on spinning the four large thumbwheel knobs sitting on compression springs and manually adjusting the height of each corner of the print bed. This system simply isn't precise enough to get the accuracy needed to get good prints. Additionally, with time and heat the metal warps causing this system to be useless.
The worst offense, however, was the workflow of this printer. You had to compile your 3D files in your slicer software, manually load the generated .gcode file into the printer's SD card and select it in the printer's tiny display. This is the same workflow as the outdated Anet A8.
All of this is bearable considering the price of this printer, especially at the time. But after seeing what the average budget 3D printer looks like nowadays, with their smart features like automatic bed leveling, smartphone connectivity and automatic time-lapse recording, I couldn't help but feel like I was missing out. So I tried to make it better.
Changing the firmware
I started by swapping the default firmware to an updated version of Marlin, a much bigger project with smarter solutions to the 3D printing problems. The process was actually surprisingly simple, I only had to put the KP3s adjusted firmware in the printer's SD card and turn it on and the printer flashed the new firmware automatically.
The upgrades this new firmware brings are a breath of fresh air. For starters, the UI is much more usable on the printer's small screen and allows for much more advanced configuration. It took some getting used to and definitely a few dozen google searches but eventually I configured the printer to it's maximum potential.
This firmware also features more efficient calculations, removing the calculation speed bottleneck and allowing the printer to actually move faster.
A great example of how this new firmware solves problems more elegantly is the bed leveling. Instead of physical adjustments to the thumbwheel knobs, this adjusted firmware uses a 4x4 grid with 16 points for bed leveling. The firmware moves the printer's head to each of the 16 points, close to the print bed, and prompts me on the printer's screen to adjust the height of the head to my liking. After I set the values for the 16 points, it stores a bed mesh heightmap of my print bed in the firmware and prints automatically adjusting for the physical imperfections on my print bed, without ever physically adjusting the height of the bed.
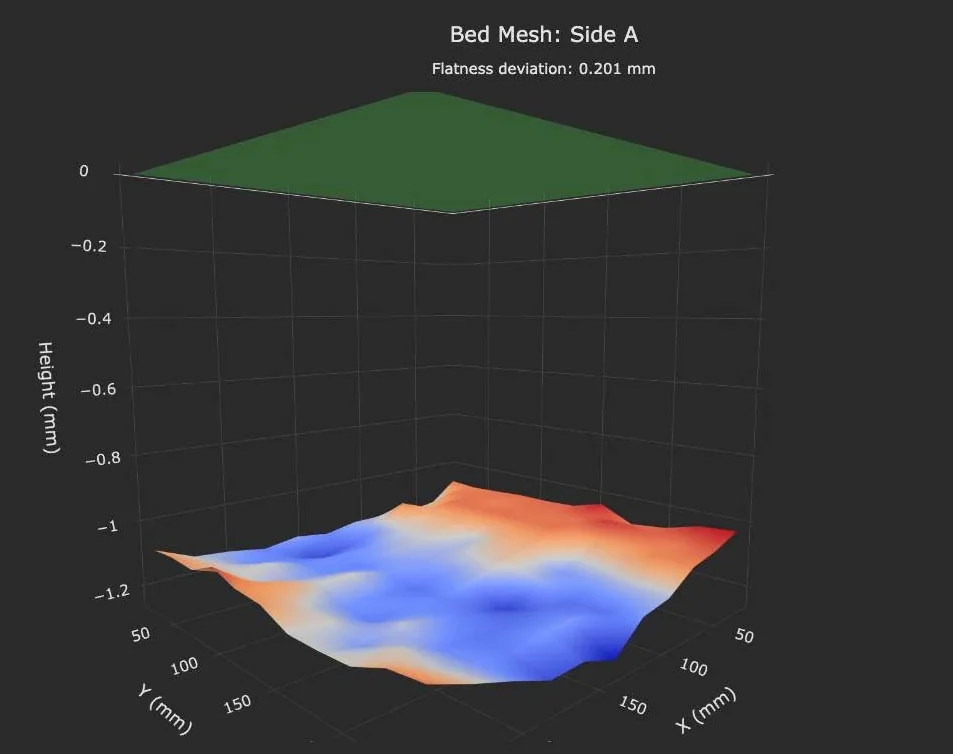
This is not only faster but also much more precise than the stock bed leveling solution, although it's not as simple as using something like the BLTouch for automatic bed leveling. However the greatest door opened by this new firmware was its OctoPrint compatibility, which would bring my printer much closer to the modern standards.
OctoPrint
OctoPrint is a web interface that allows you to remotely control and monitor your 3D printer. I had heard of it long before buying my printer, but originally didn't think I'd get to use it because it is incompatible with my KP3s's default firmware. However, with this new firmware I finally got to use it.
I installed OctoPrint on my TrueNAS home server and connected my printer via USB. After a little troubleshooting, I got OctoPrint to connect to my printer and was able to move it, pre-heat it and monitor it from my computer (without needing the teeny tiny printer screen).
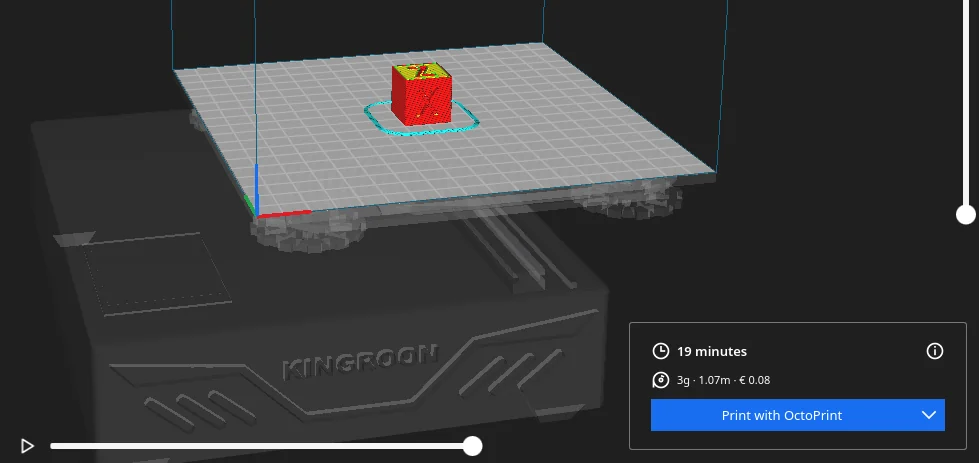
I was also able to connect OctoPrint to Cura, the slicer software I use. In simple terms, the slicer is the program that takes the 3D file and generates the .gcode file with the step by step instructions for the printer. This connection meant I could configure the print how I desired in Cura and send it directly to the printer without ever removing the SD card from the printer. I admit that this is by far the biggest quality-of-life improvement.
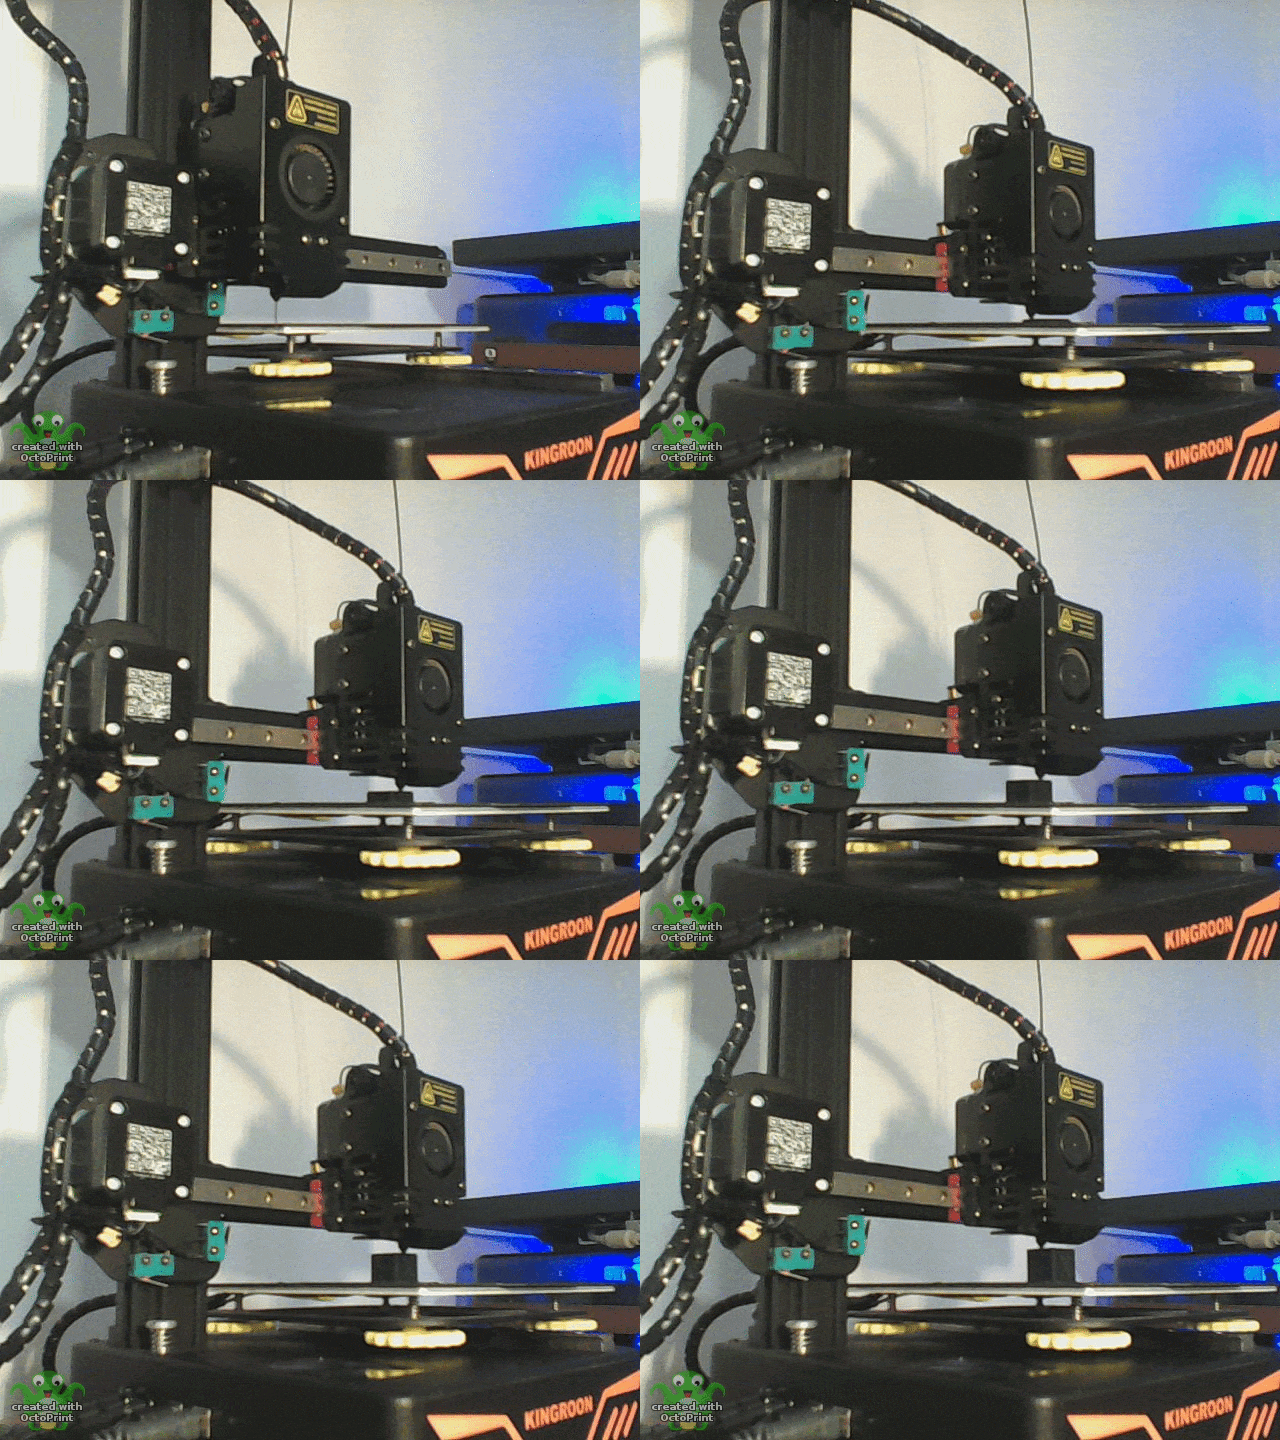
Another big feature is the automatic time-lapse recording. I connected an old webcam to my server and granted the OctoPrint container access to that device, and after some configuration my webcam was recognized and was recording my prints. I could even tell OctoPrint to capture snapshots specifically on Z change (when the print finishes a layer) for generating smoother time-lapses.
Printing from anywhere
With my Tailscale setup, I can connect to my server (and consequently OctoPrint) from anywhere. Since the OctoPrint dashboard is a pain to use in mobile, I opted for the OctoPod companion app. It integrates perfectly with the iPhone giving me live activities and integrating with the Apple Watch, widgets, Siri and more.
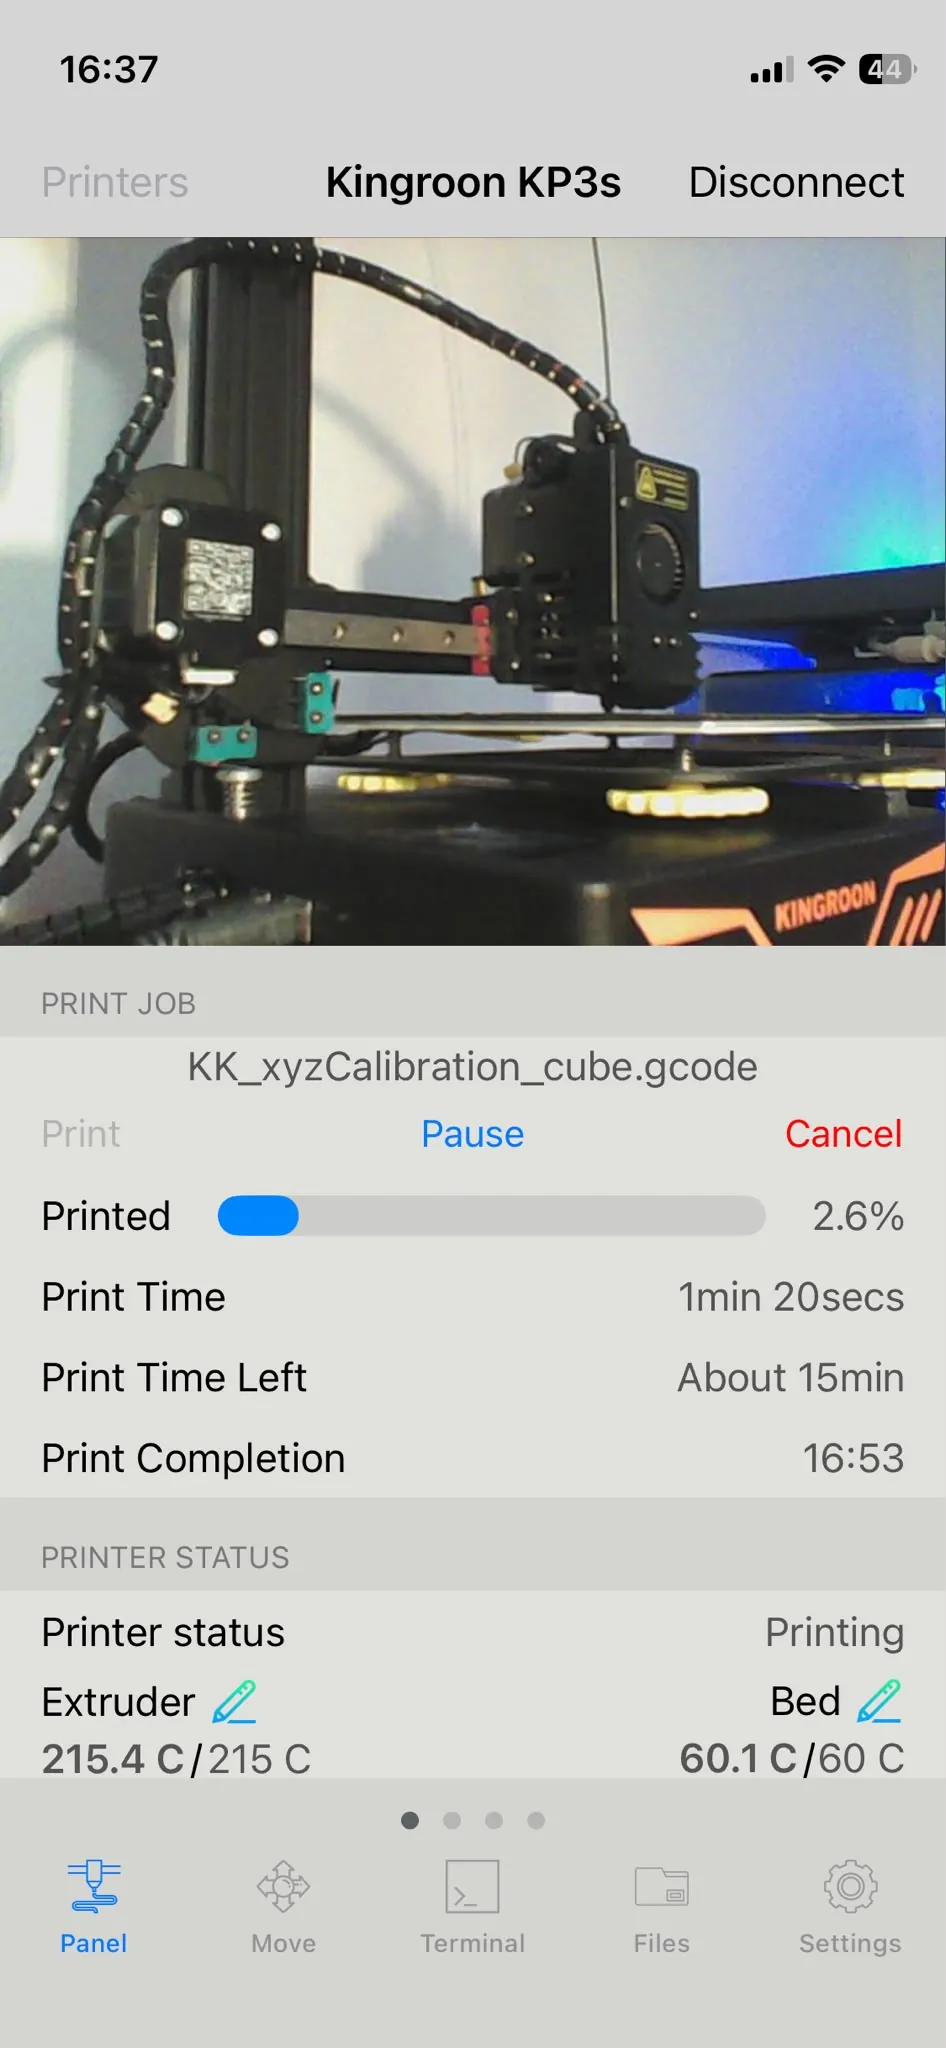
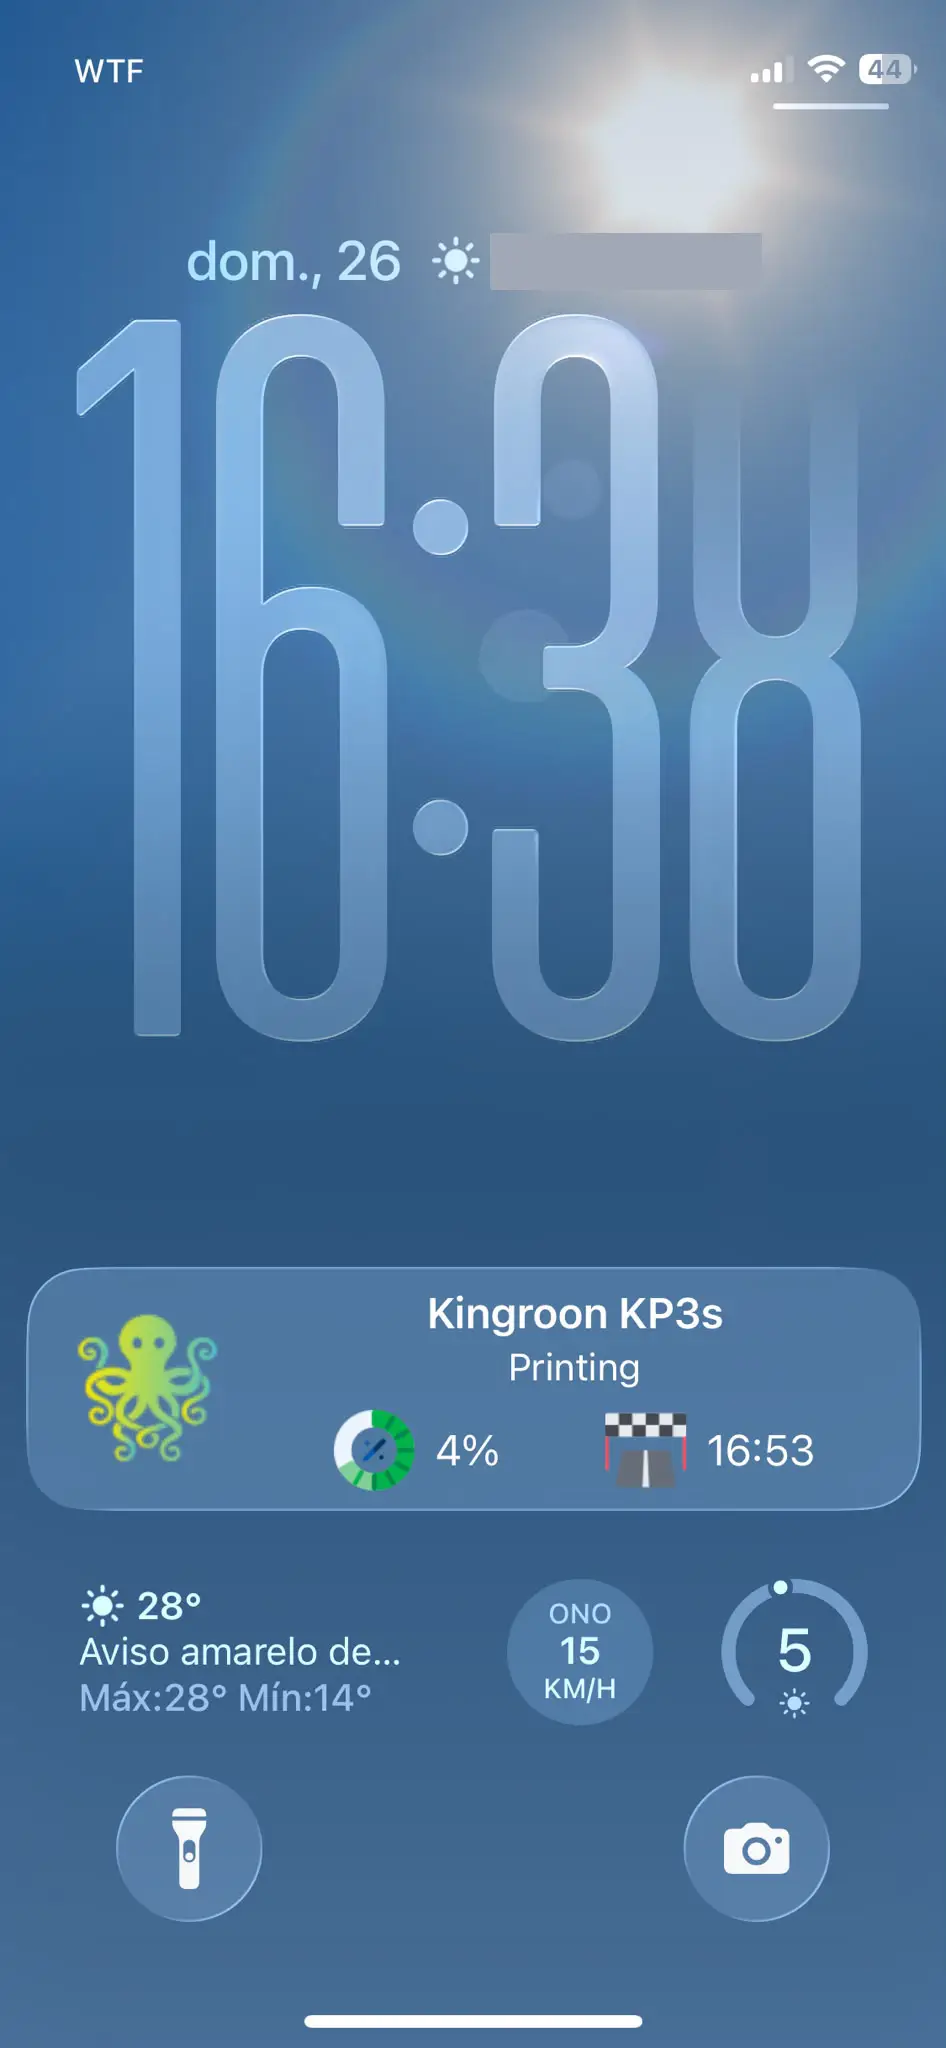
This allows me to check in on my print when I'm not close to the printer and gives me much more freedom. However, it doesn't completely get rid of my print failure spaghetti-anxiety. For that I'd have to make my setup even smarter.
What's next
The next step is clear: AI-powered print failure detection using the camera feed and printer data. This means I get notified if the printer fails and don't need to constantly check its status. This is actually a very simple setup if I use Obico, since it connects to my OctoPrint setup very easily and is natively supported by OctoPod.
While they offer a free tier, it's limited to 10 hours per month and the camera feed in OctoPod becomes as responsive as a PowerPoint presentation. Obico allows you to self host the AI model, but for now my server really isn't powerful enough, so I will be opting out on the AI features (for now).
So I ended up spending about 20 hours modernizing this printer just to save a couple minutes of manual work. It was worth it.